Category: DIY
-
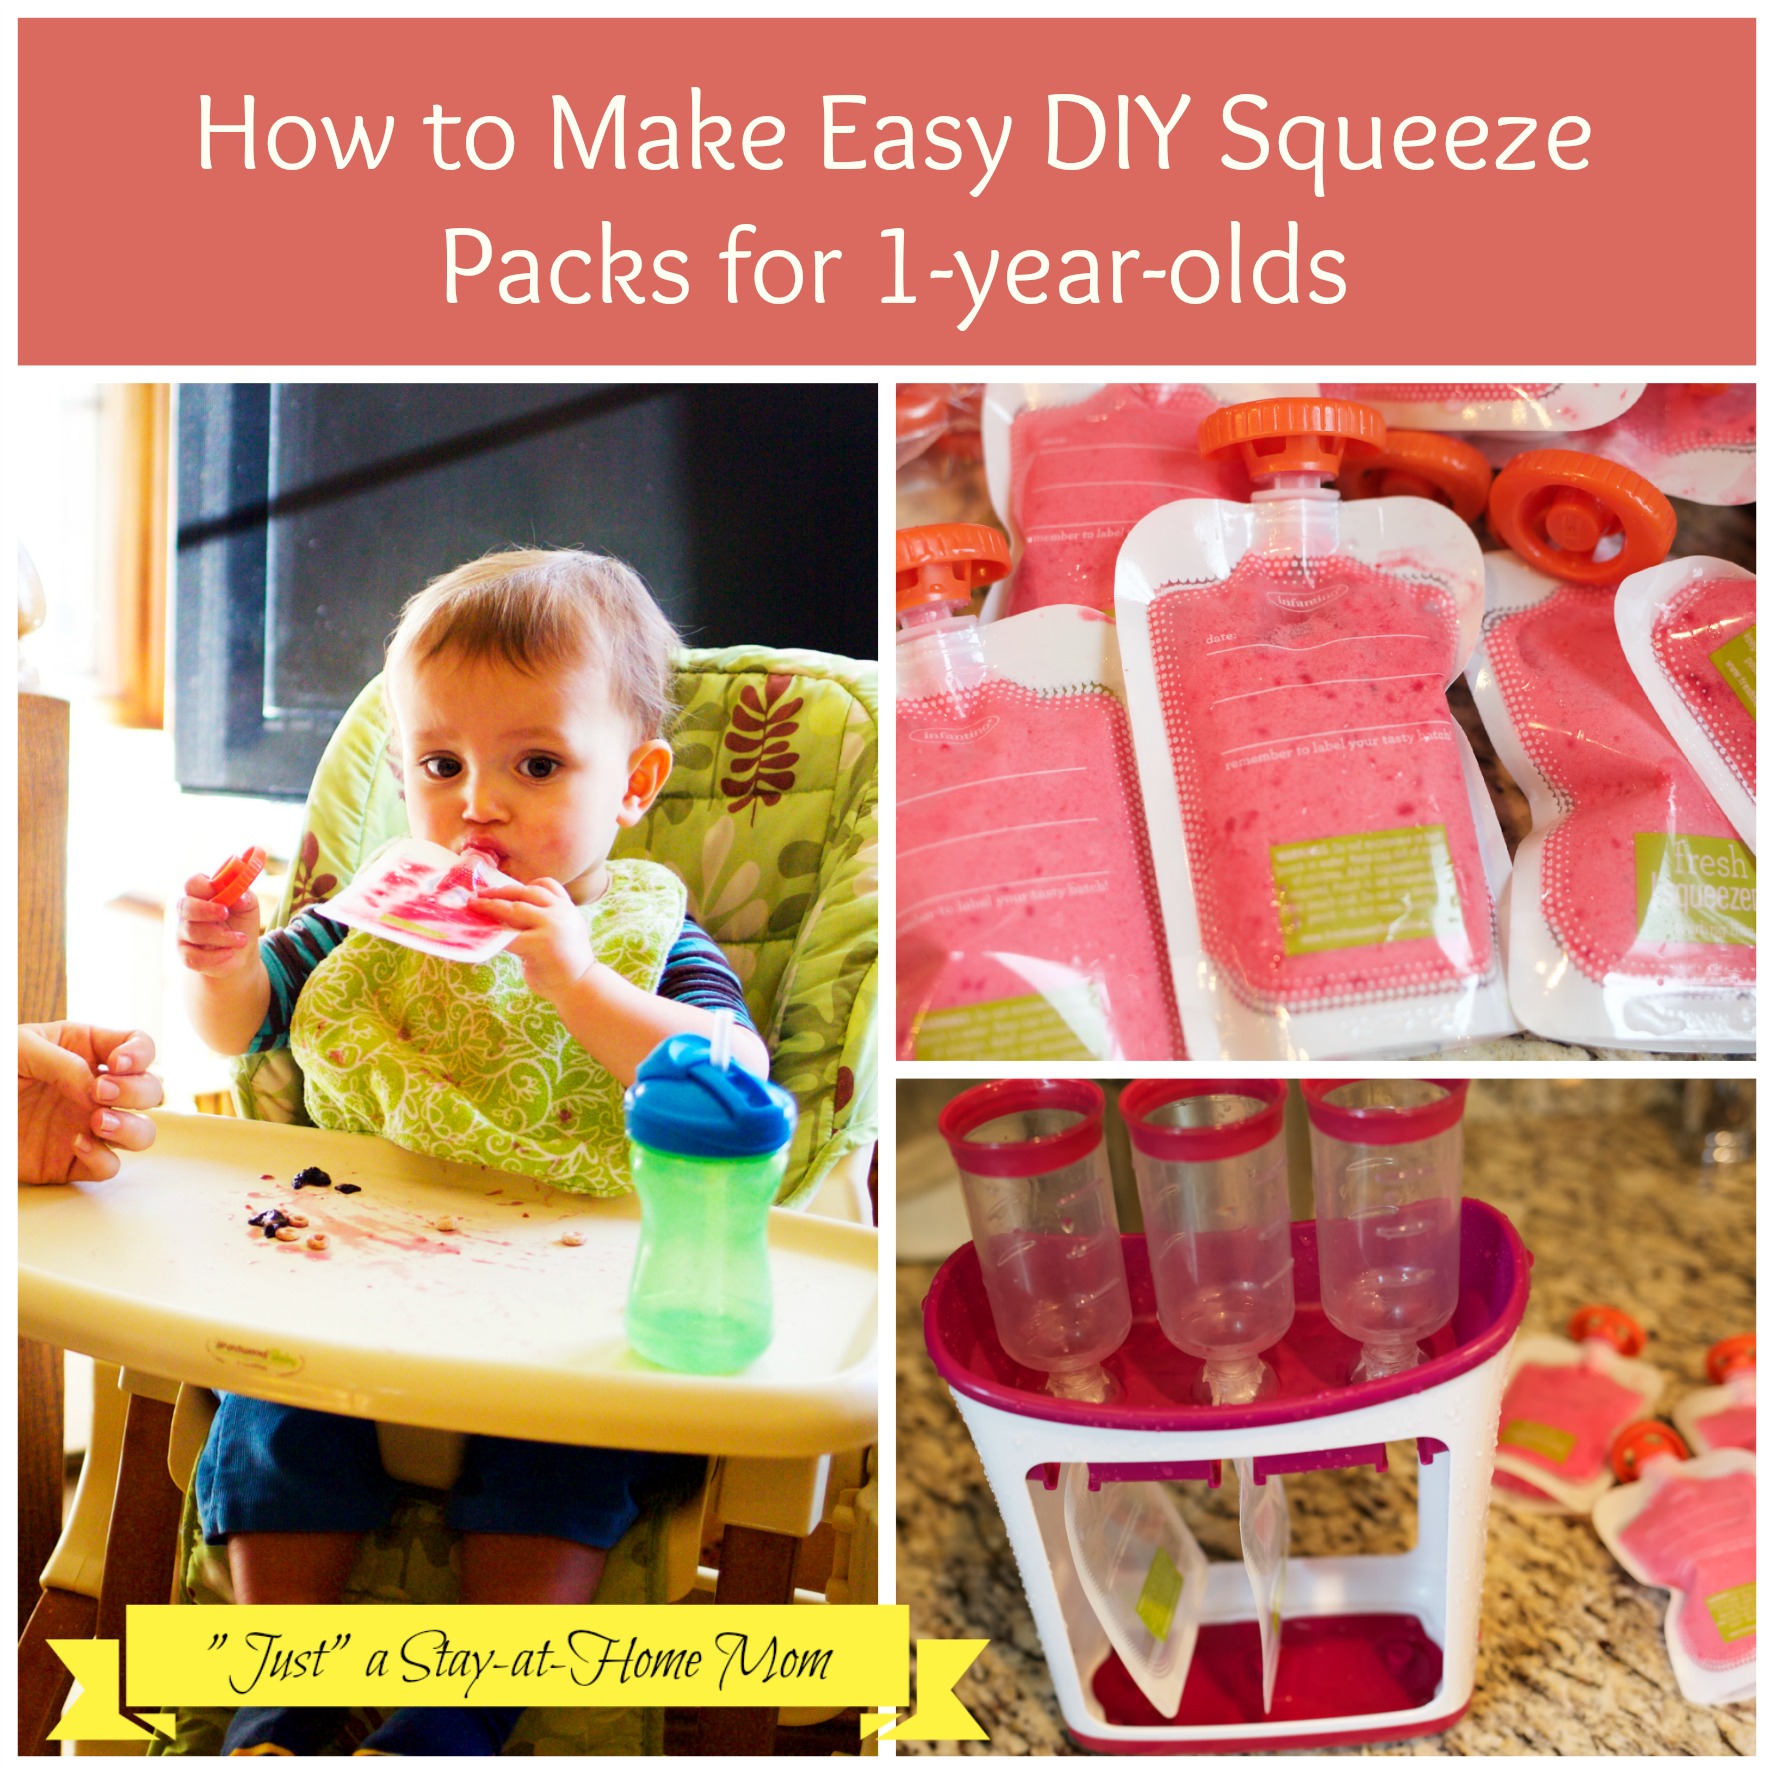
DIY baby squeeze packs for a 1-year-old
I know some people roll their eyes at the thought of how much time you must have in order to “waste” some making baby food. However, I have found it to be the total opposite. If I take about 2 hours, I can make enough food to last me a month! Now that Chunky Monkey…
-
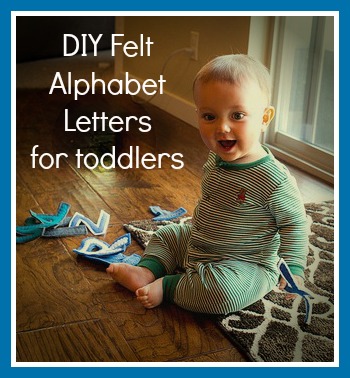
DIY Felt Alphabet Letters for baby
One of my interests, as a stay-at-home mom, is to incorporate Montessori aspects into my son’s environment. I strive to have his play time be enriching as well as fun. *You can check out my guests posts as “Parent Coach” on Age of Montessori. Anyway, around 8 months, I decided I wanted him to have…
-
DIY Plastic Bag Holder for the Nursery
If you are like me, with a combination of using cloth and disposable diapers, you end up using a diaper pail and a garbage can (for various reasons. I’ll spare you the details). I try to reuse and recycle things whenever possible, so I gather up all the grocery bags used to bag apples, veggies, etc and…
-
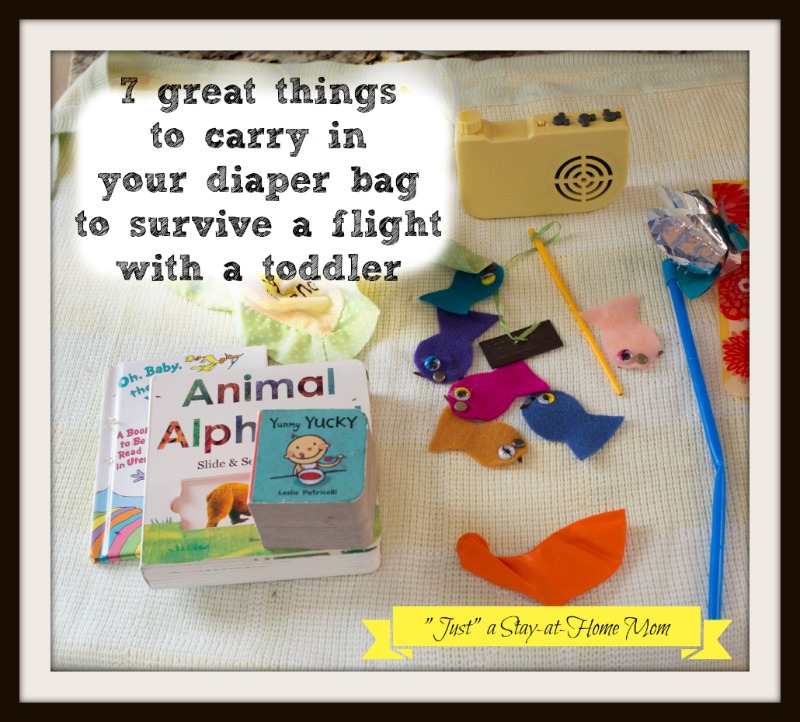
How to survive flying with a toddler
Here is my bag of tricks that has helped me have a successful flight with a young toddler. Our little man has been on 6 trips (17 flights-including all the connections) in his first 12 months of life. So, I really believe in these tricks:-)